The XBRL Date Selector lets you quickly apply XBRL dates by providing a list of currently-used dates separated from prior dates.

Using Filters
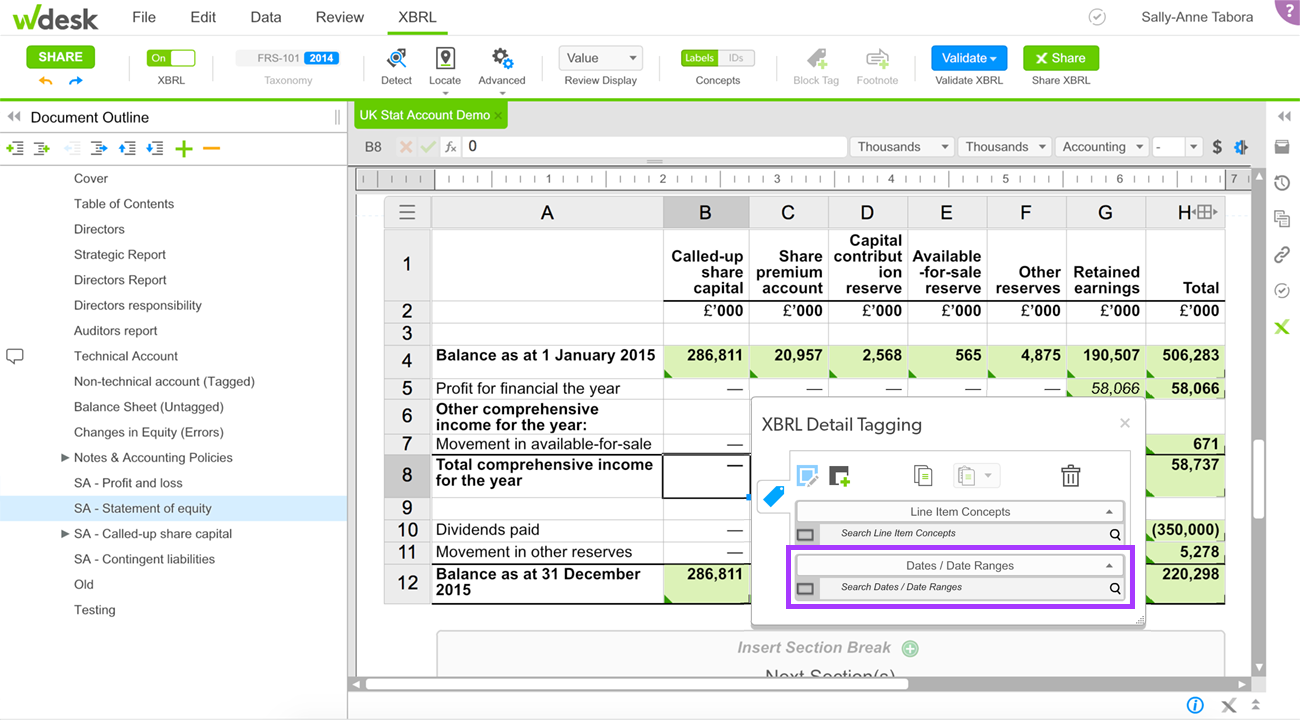
To access the XBRL Date Selector, click in a cell to open the XBRL Detail Tagging dialog box and click Search Dates / Date Ranges.

When you open the XBRL Dates Selector, the dates currently used in the document appear first.

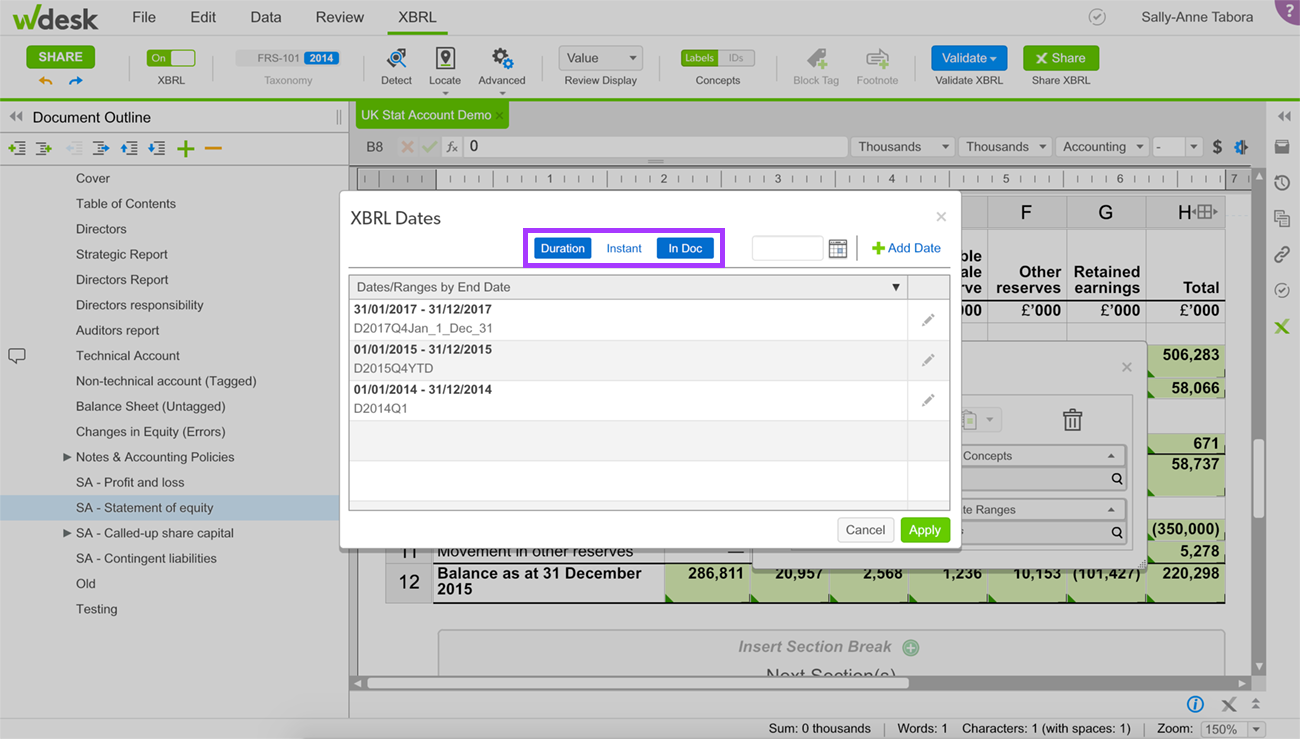
To help you find the date you need more quickly, there are three date filters and a calendar available at the top of the XBRL Dates Selector dialog box.
Filter Duration dates. When this filter is turned on, only XBRL dates that have a period type of Duration will be shown in the date list.
Filter Instant dates. When this filter is turned on, only XBRL dates that have a period type of Instant will be shown in the date list.
Filter In Doc dates. When this filter is turned on, only XBRL dates that are used in the document will be shown in the date list. This filter can be used in conjunction with the Duration or Instant filters for more specific results. This filter is on by default when you use the XBRL Date Selector.
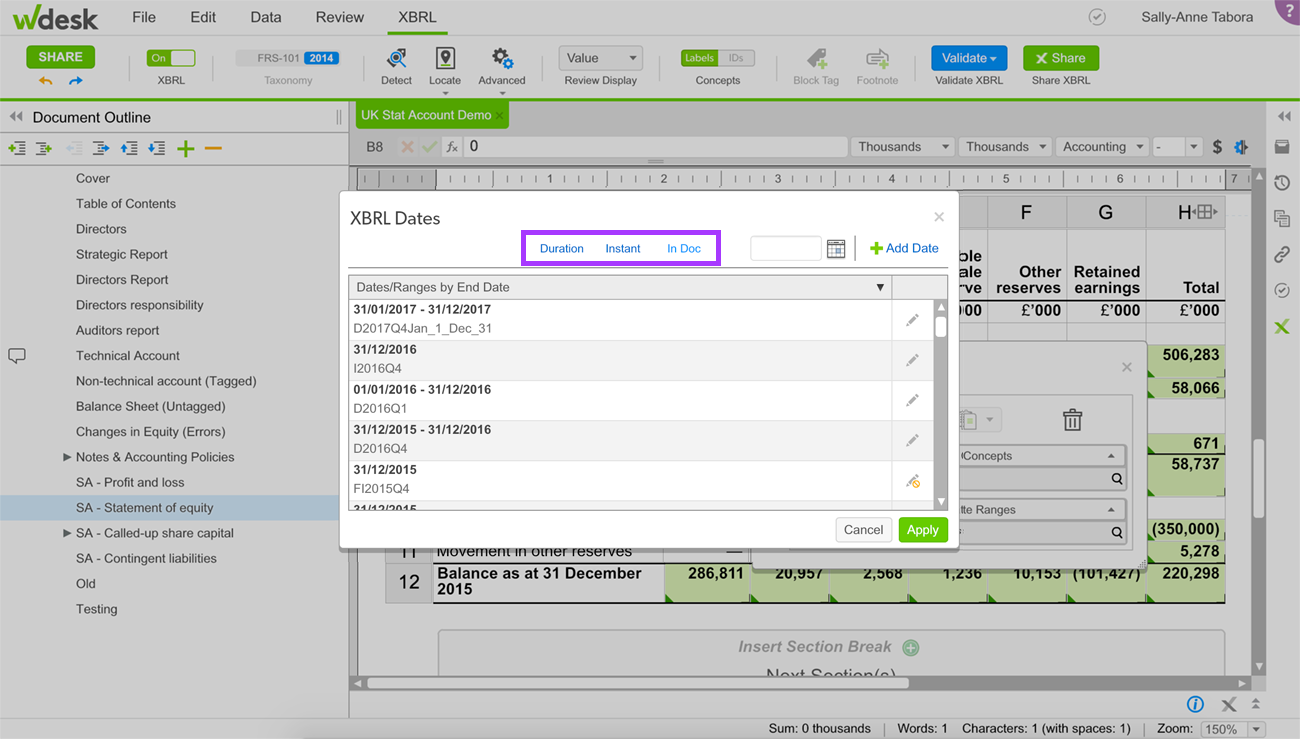
To turn a filter on or off, simply click its name. When the Duration, Instant and/or In Doc filters are turned on, the name appears with a blue box.
When the filter is off, you only see the blue text indicator.
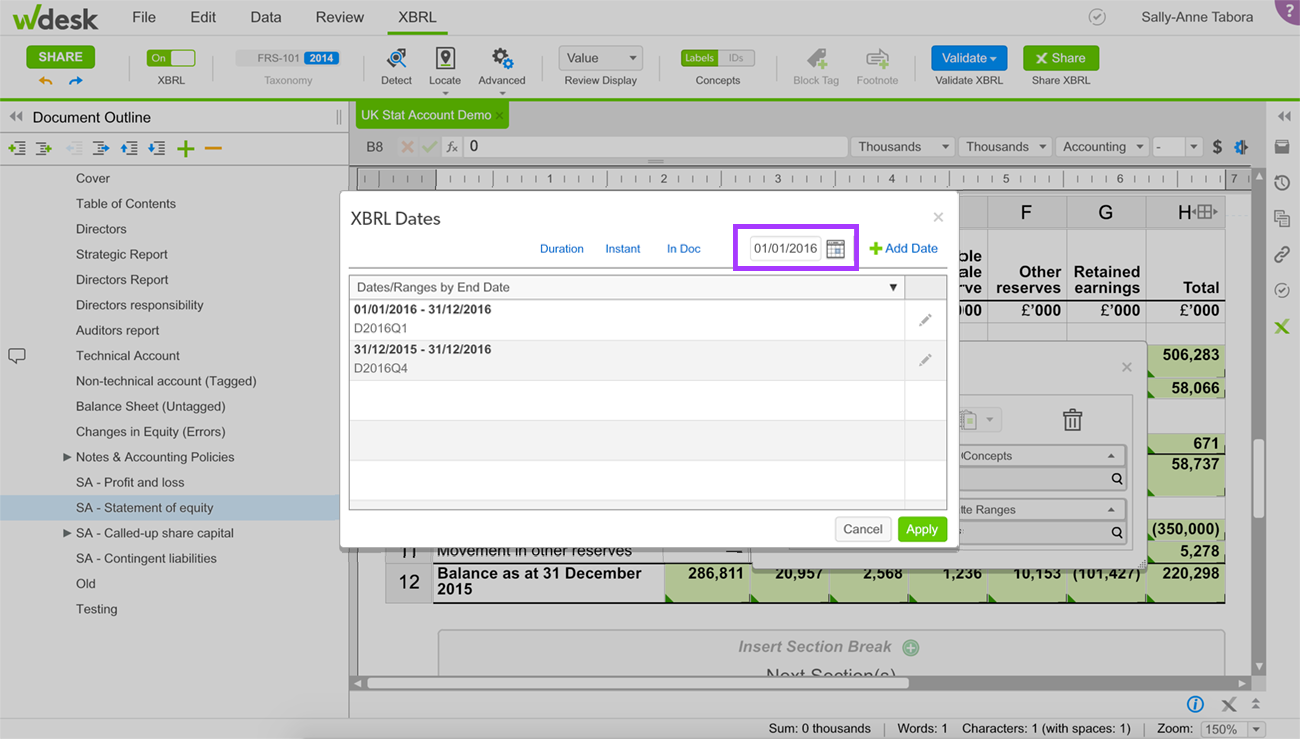
You can also type a specific date or choose one using the calendar drop-down to see only XBRL dates containing the selected date.
Applying an XBRL Date
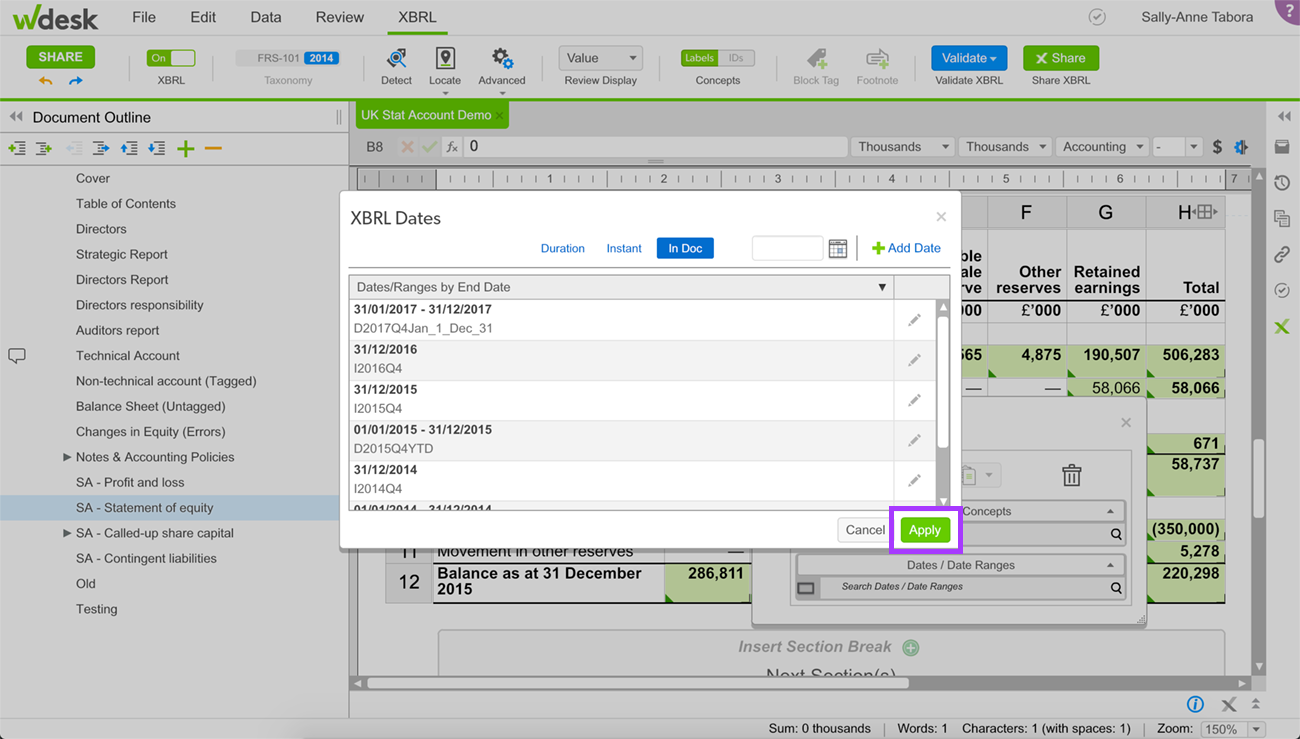
With XBRL turned on, click on the link or cell which you would like to apply a date.
Select Search Dates / Date Ranges on the XBRL Detail Tagging window.
Find and select the applicable date from the list of dates and click Apply.
Adding an XBRL Date
If you need to apply a non-fiscal XBRL date that does not appear in the date list, you can create a custom XBRL date.
On the XBRL Dates Selector, click + Add Date in the top-right corner.
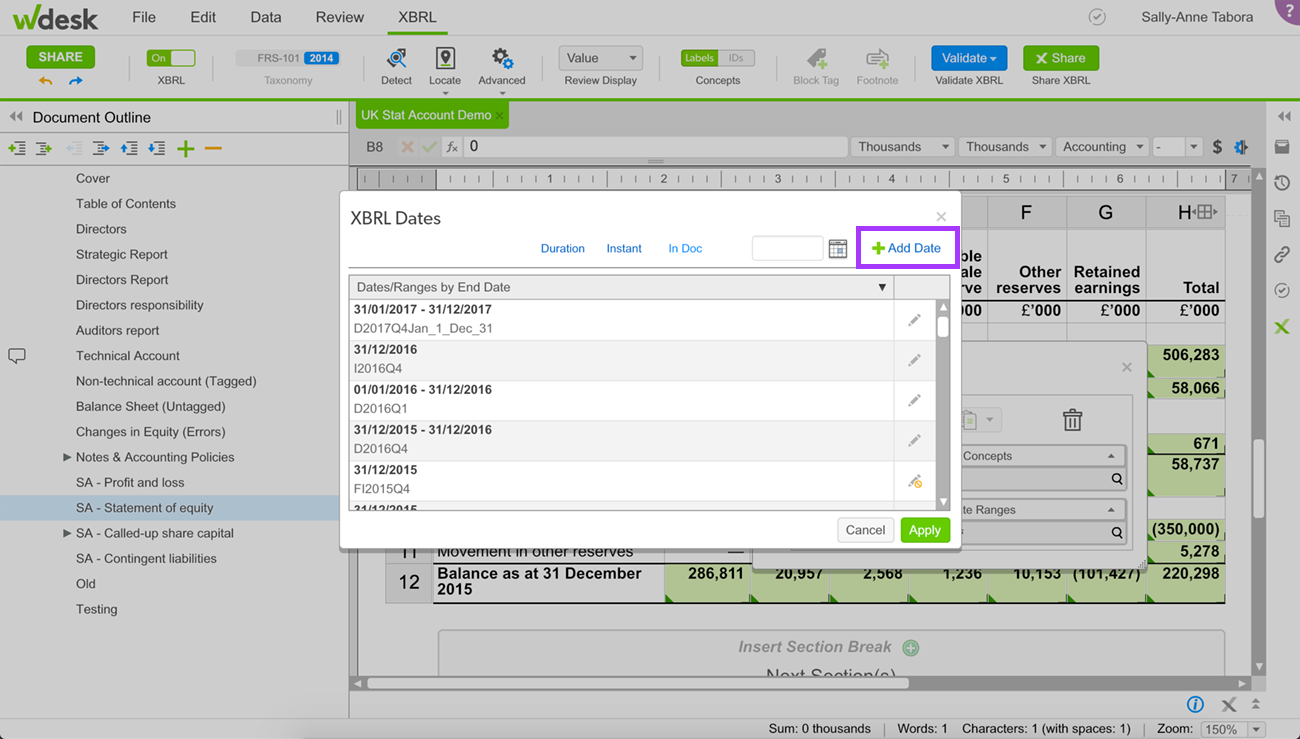
This launches the Add XBRL Date dialog box:
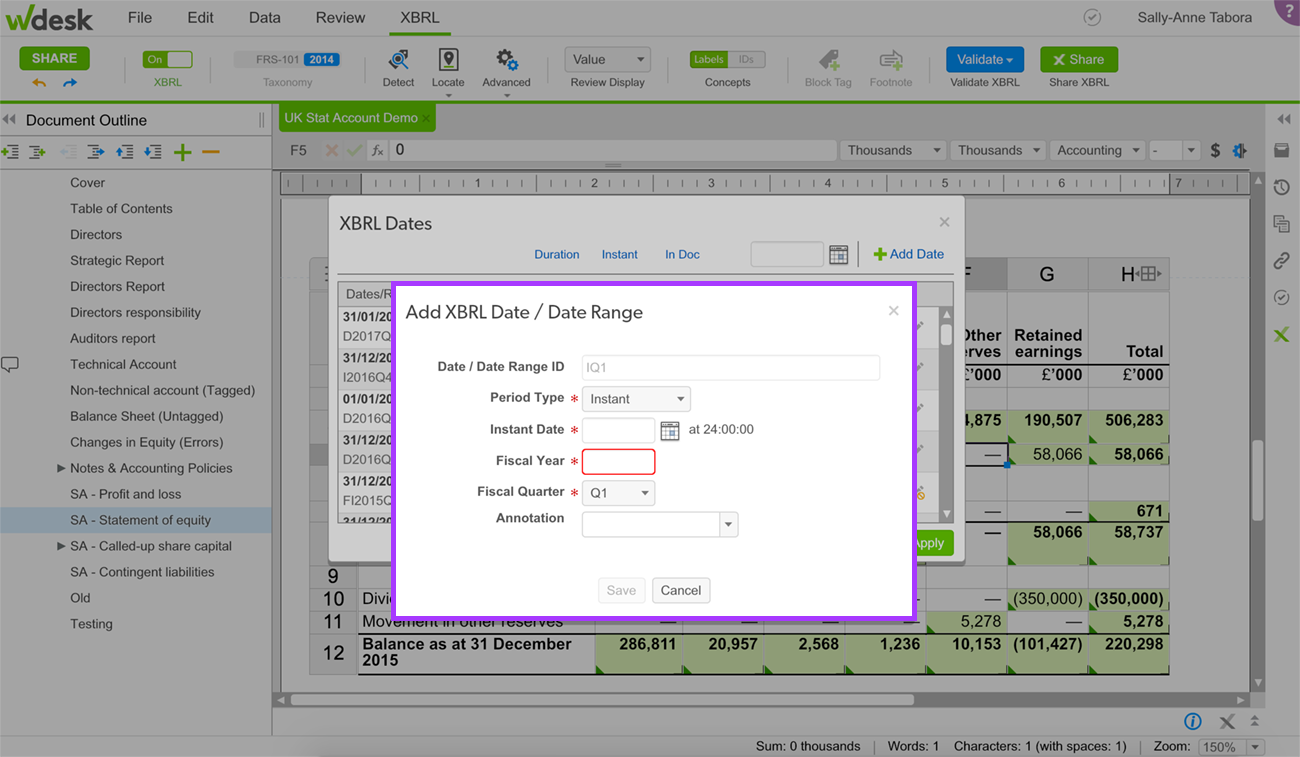
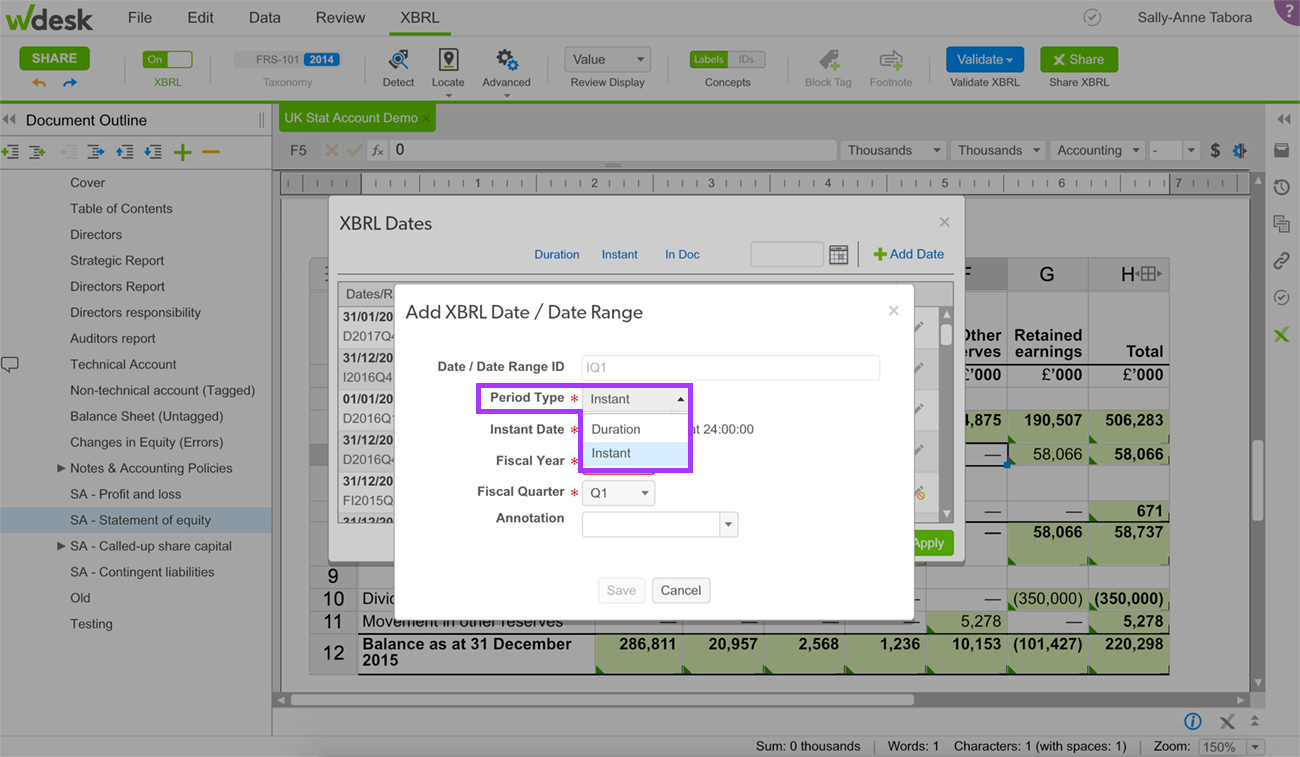
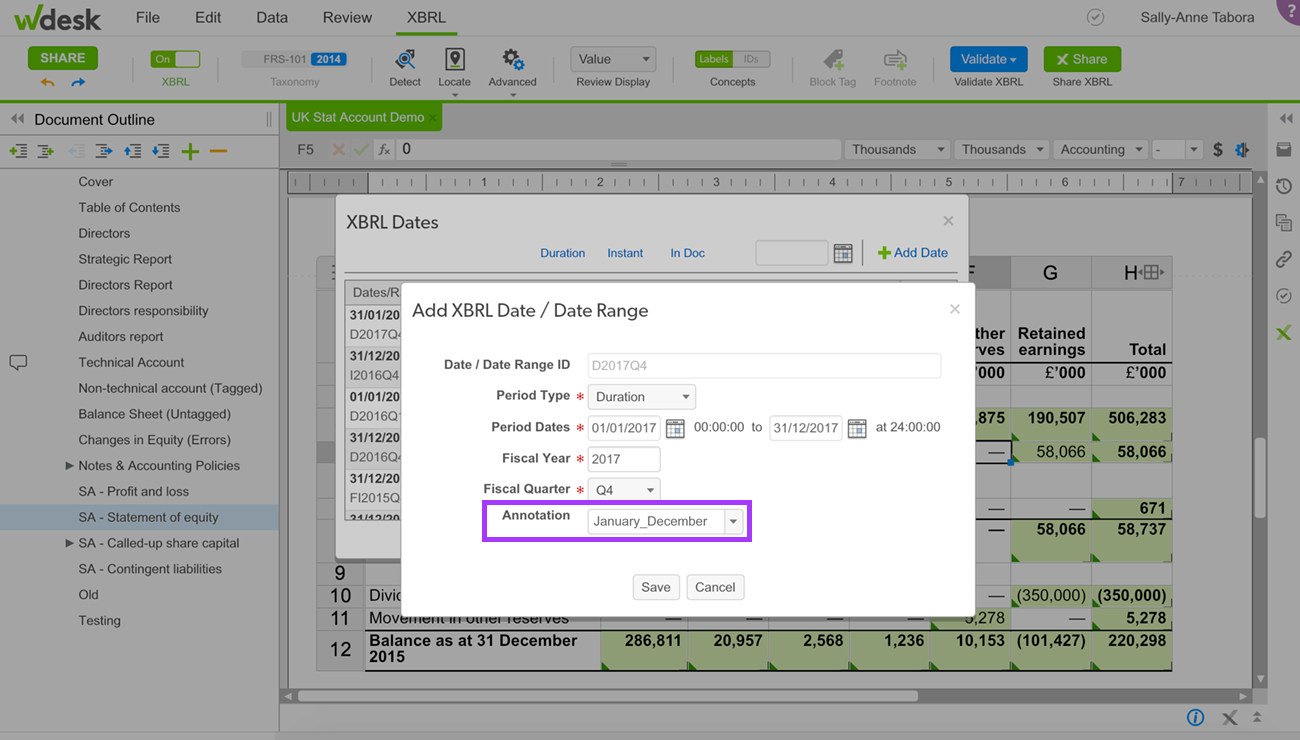
On the Add XBRL Date / Date Range dialog box, select either Instant or Duration from the Period Type drop-down. Make sure the custom date period type matches the concept period type you will use for the fact. Instant dates are listed as a single day 24-hour day. Duration dates are a range of time from 00:00 to 24:00 hours and for one or more days.
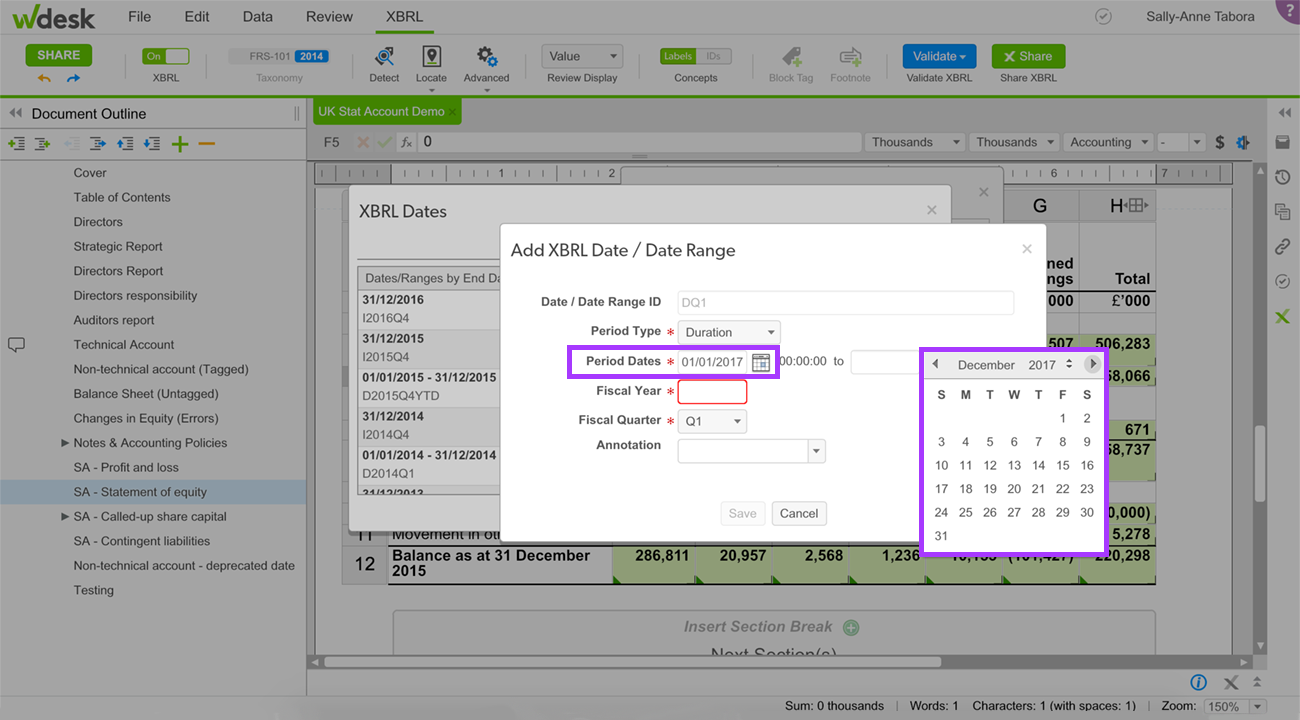
Type the date/date range or select it from the calendar icon in the Period Dates fields.
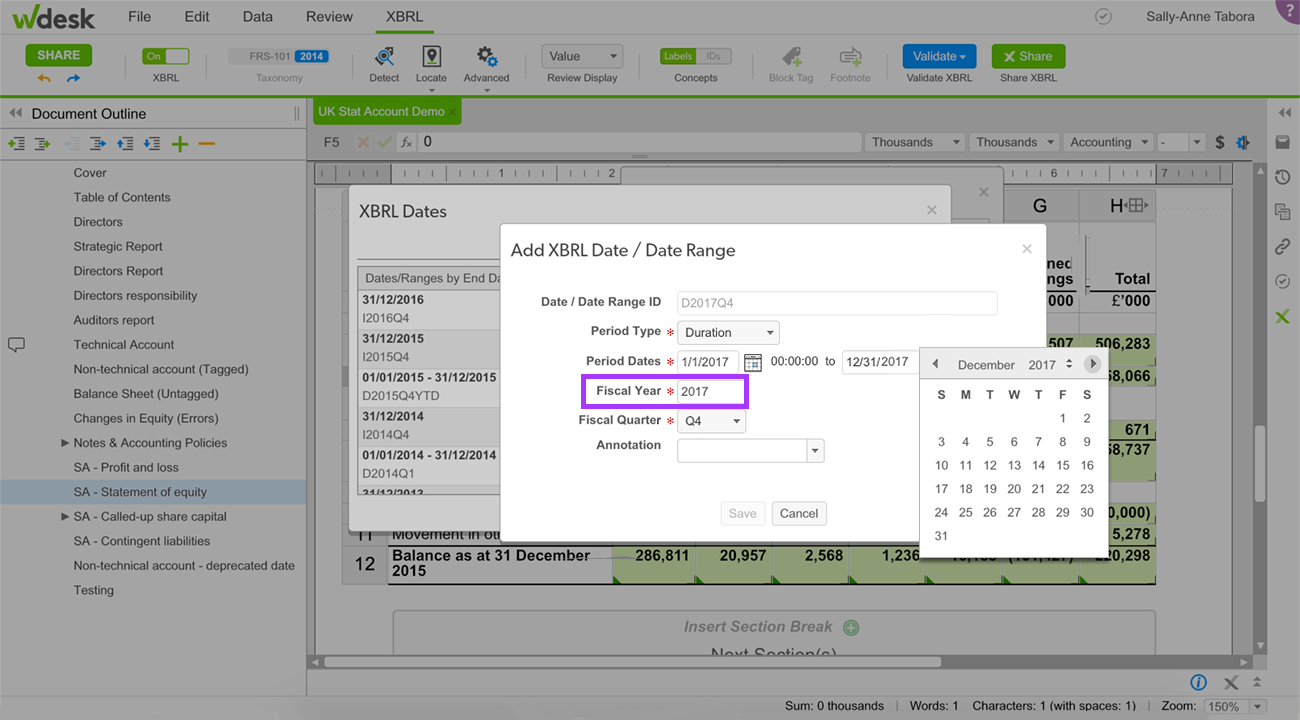
Type the year that applies to the chosen date/date range in the Fiscal Year field.
Select a fiscal quarter from the Fiscal Quarter drop-down. The fiscal quarter should match the fiscal quarter of the date or date range in step 3, generally Q4 for HMRC filings.
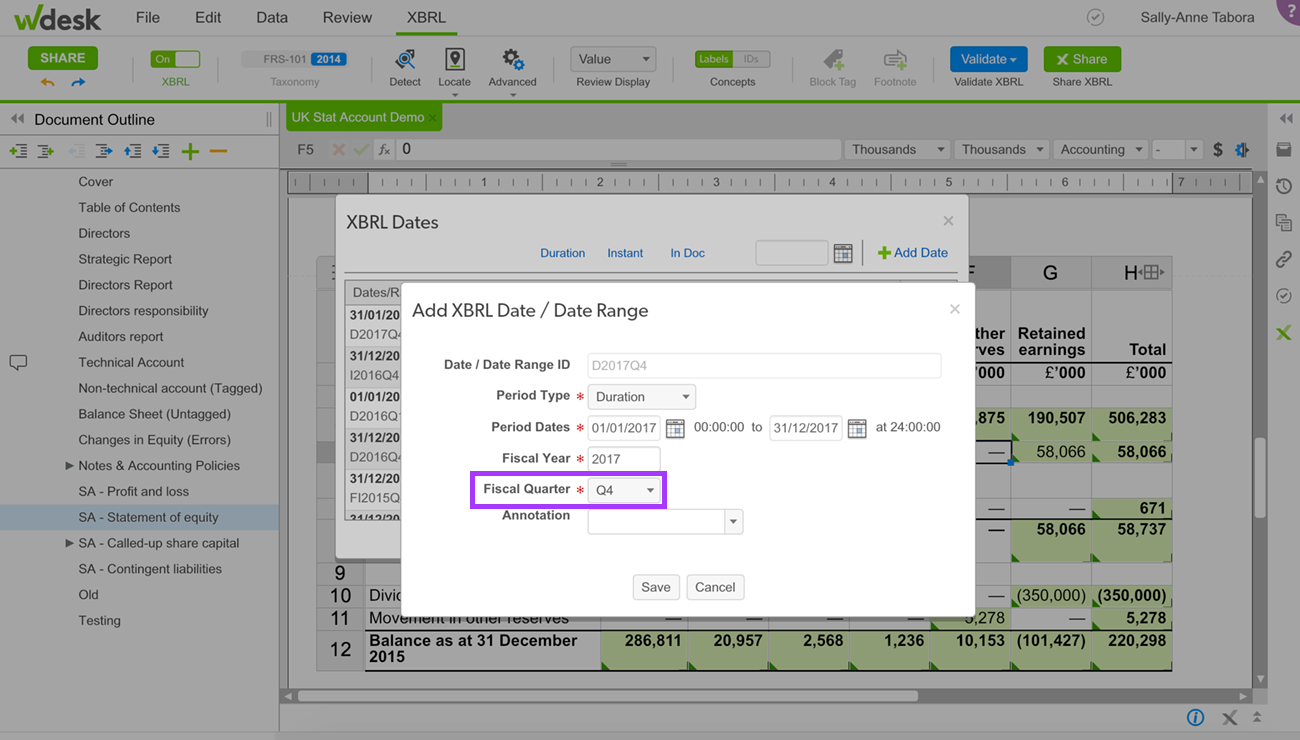
You can provide an annotation for the date ID. Standard annotations are available from the drop-down menu on the annotation input field. You can create a custom annotation by simply typing the desired annotation into the annotation input field.
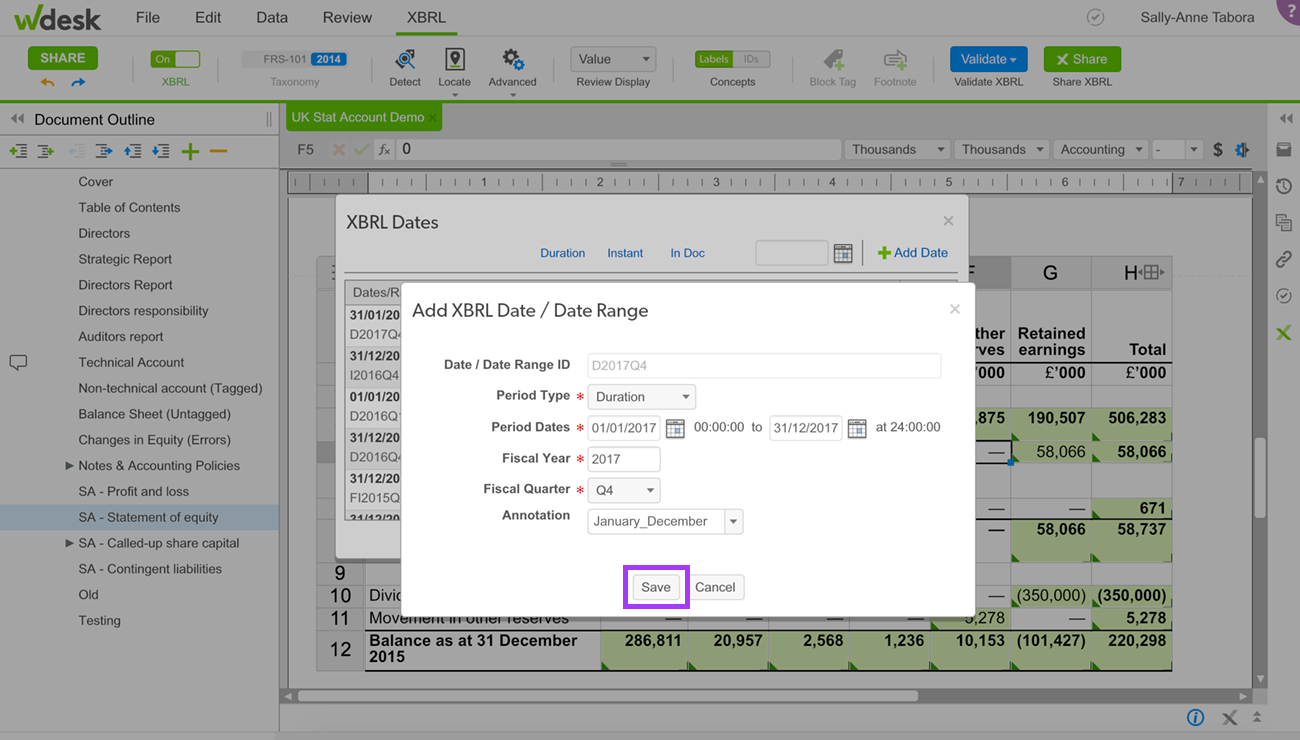
Click Save. Saving the date automatically applies it to the XBRL fact. This adds the new custom, non-fiscal XBRL date to your dates list.
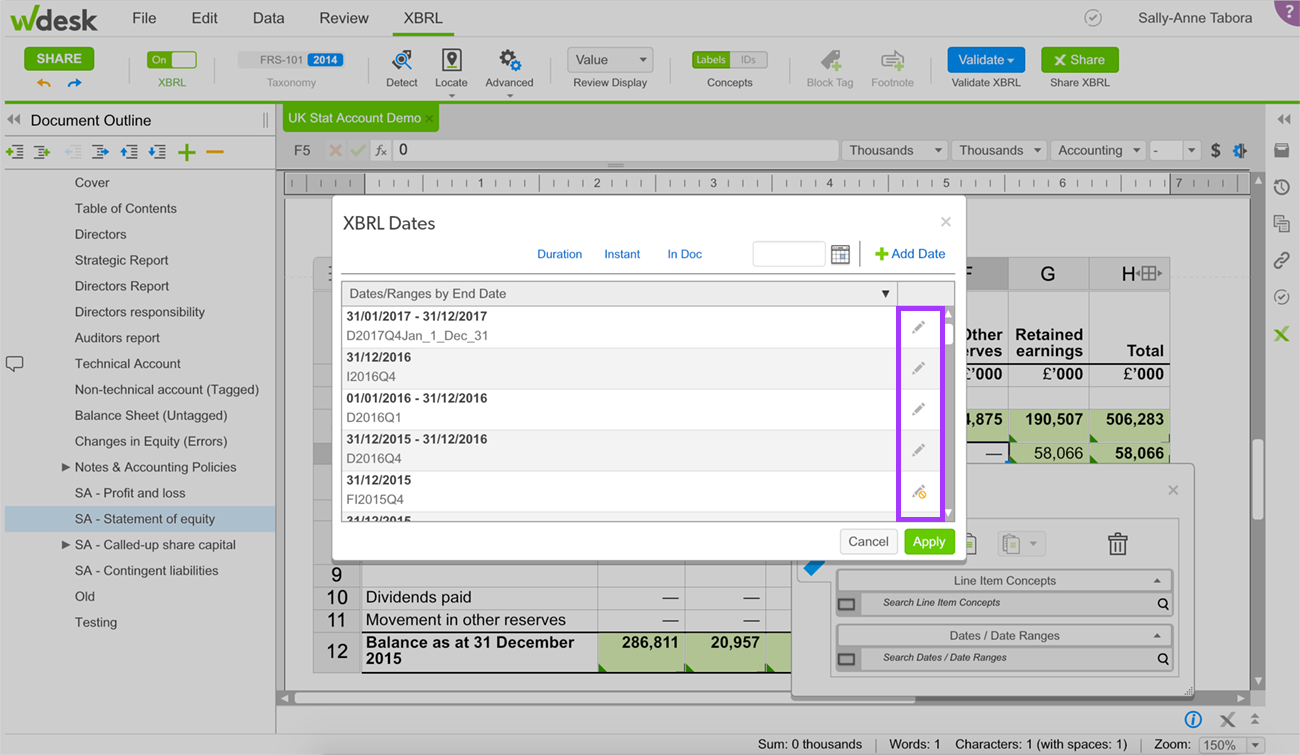
NOTE: You can edit/deprecate a previously created date by selecting the Pencil icon next to the date. Make sure you read the following Deprecating a Date article before taking this action. This is not available when you are replacing a date.
Deprecating a Date
Deprecating an XBRL date removes a non-fiscal date that should not be used from the dates list.
If you deprecate an XBRL date that is used in XBRL facts in your document, you will receive document check messages when you run doc check. The message identifies the fact and recommends that you replace the deprecated date with another active date.
You may file with deprecated XBRL dates; however, it is a best practice that you replace all deprecated dates applied to XBRL facts with active dates. Deprecating a date removes it from your account, and will affect previous filings. If you need to refile a document, we recommend to follow step 6 below and replace any deprecated dates applied to XBRL facts with active dates.
To deprecate a non-fiscal XBRL date:
On the XBRL Dates Selector, select the pencil icon next to the date you would like to deprecate.
Click Deprecate (i.e. - should not be used) in the Edit XBRL Date / Date Range dialog box.
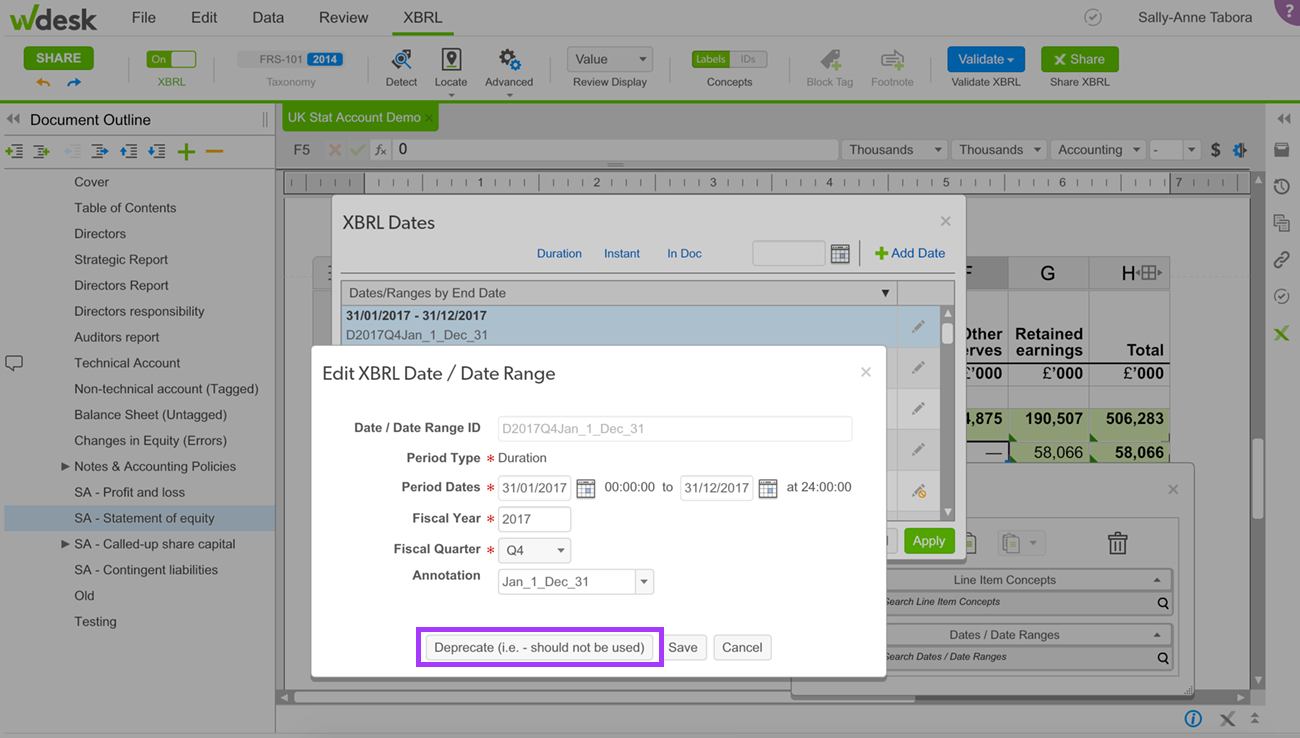
If you are sure you want to deprecate the XBRL date, click Yes in the Confirmation dialog box.
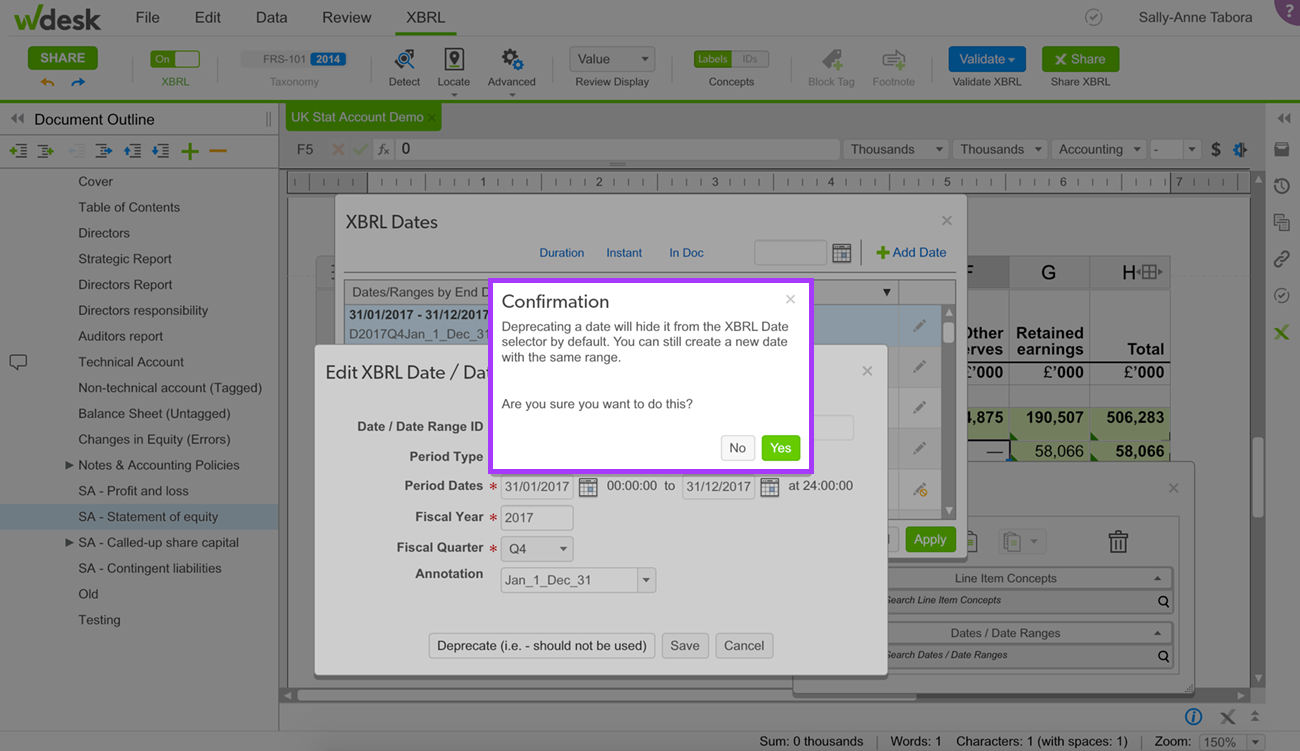
If you don’t want to deprecate, click No and then Cancel.

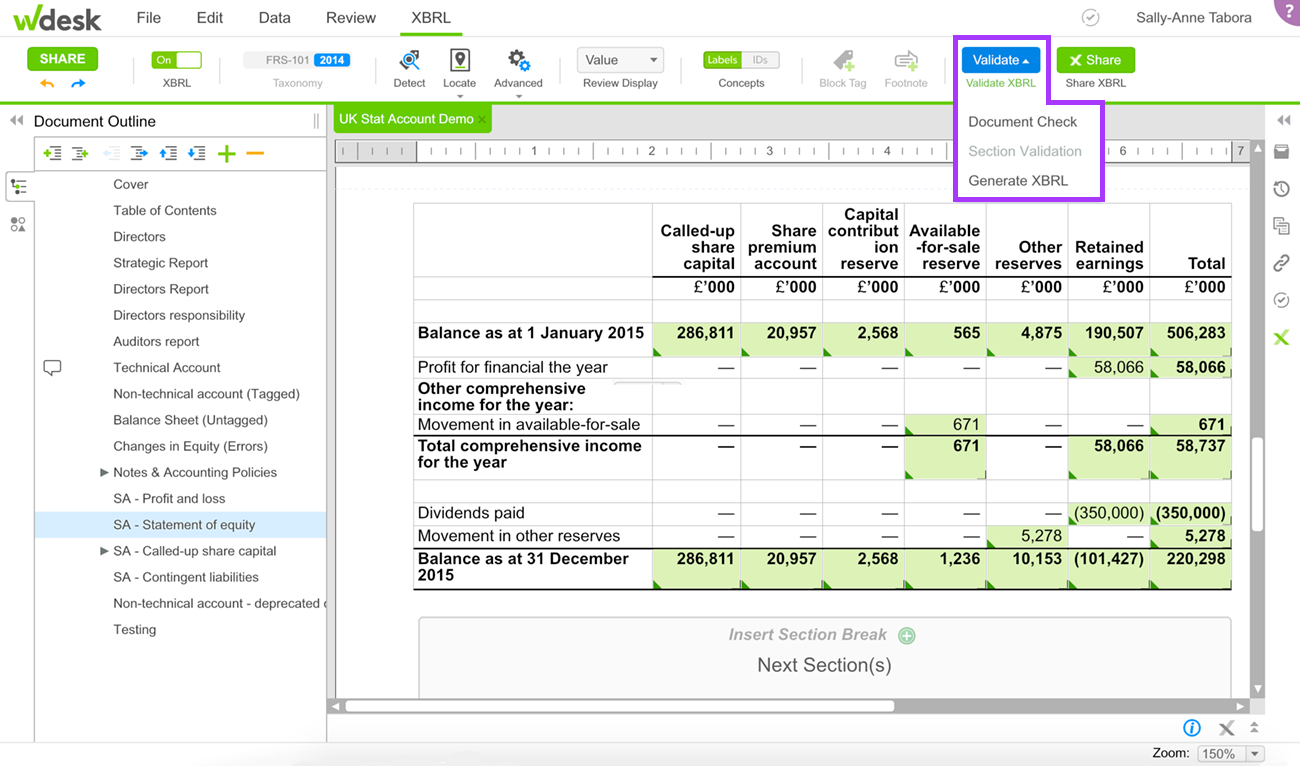
To find all deprecated XBRL dates on the active document, click the XBRL tab, click the Validate drop-down, and select Document Check.
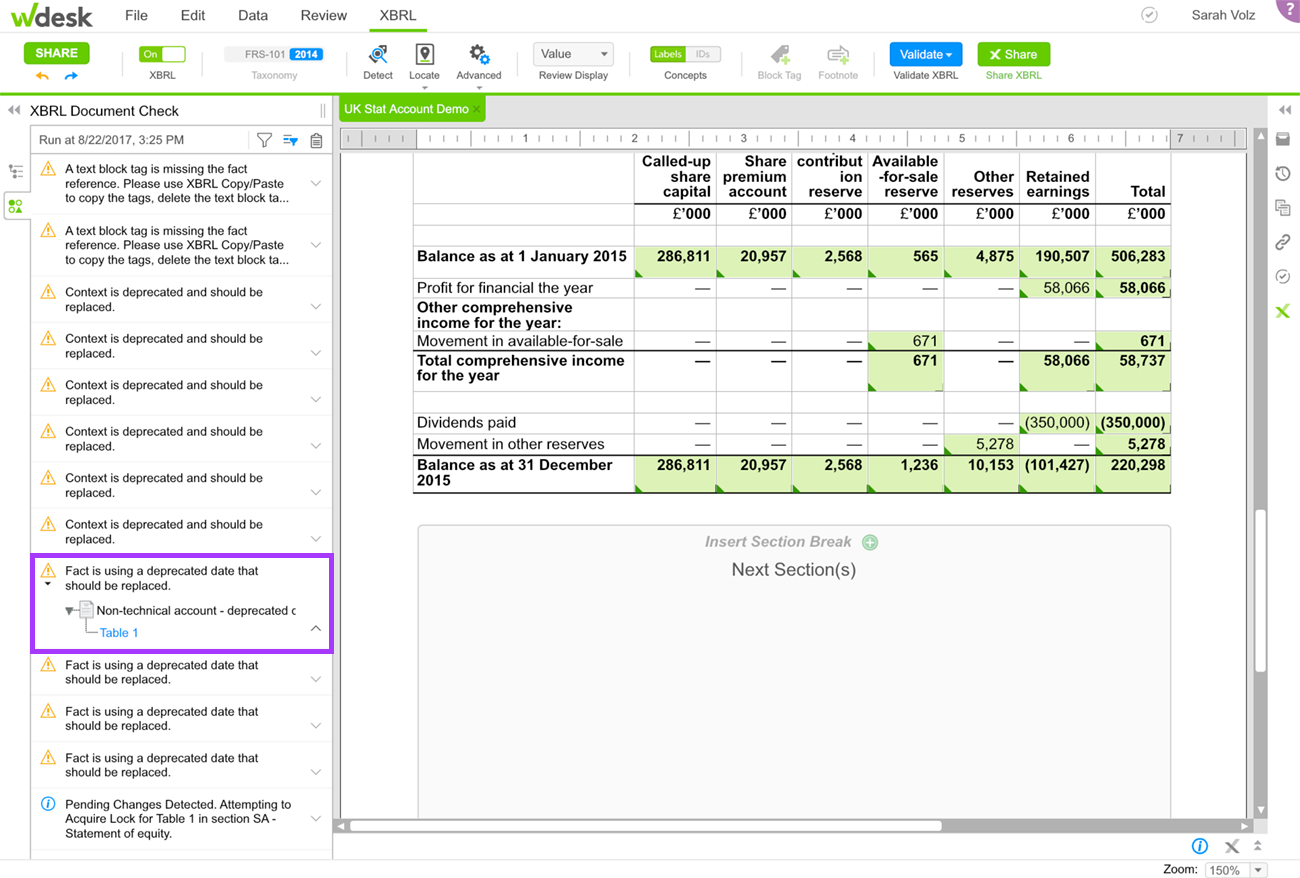
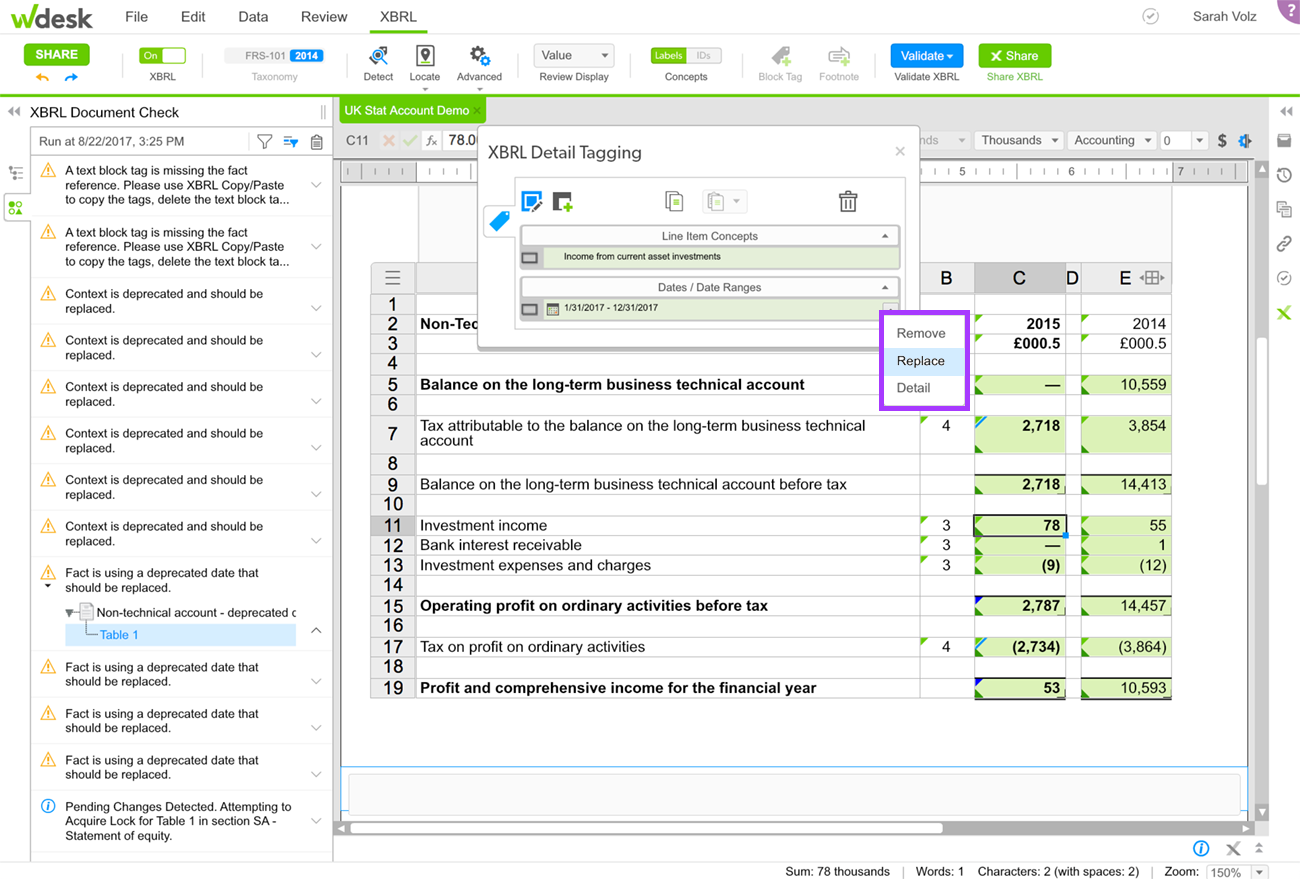
After the document check finishes, check for messages that read "Fact is using a deprecated date that should be replaced.” A message appears for each instance of the deprecated date used in the document.
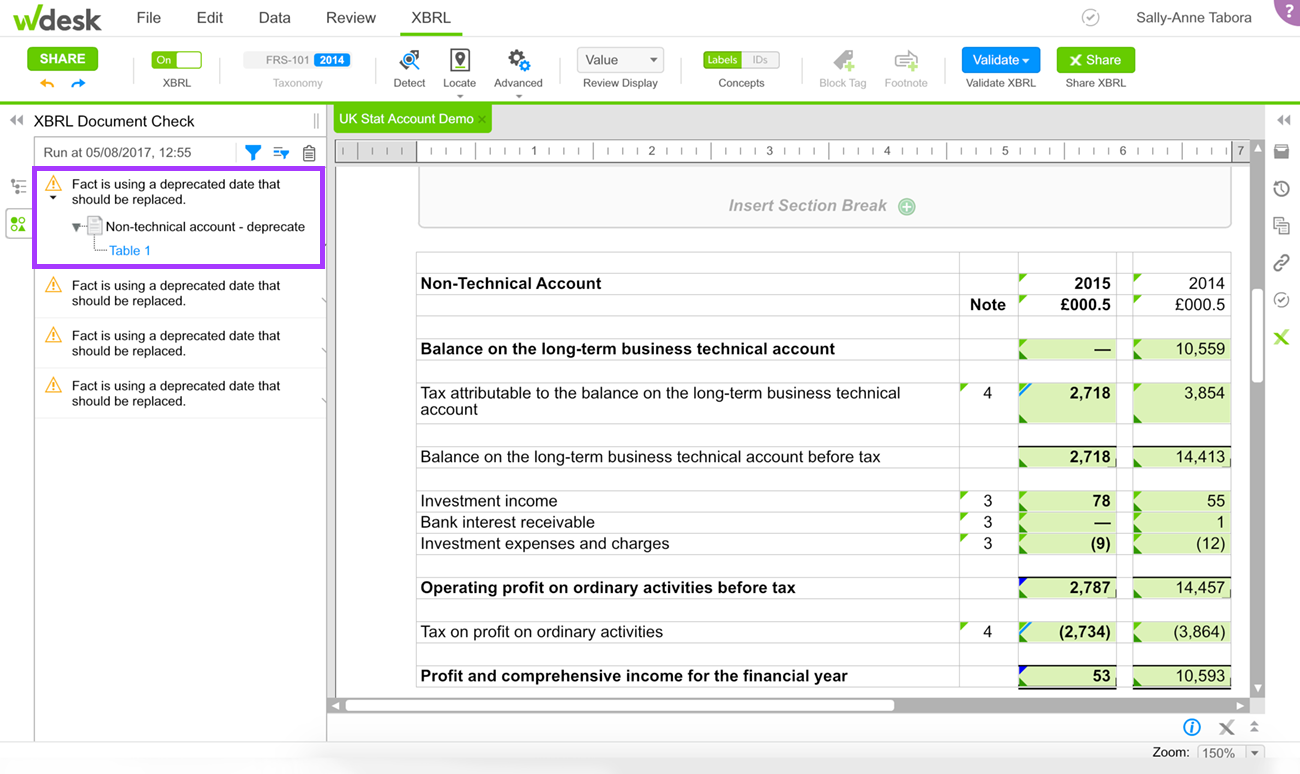
Double-click the Document Check message to activate the location finder and locate the fact using the deprecated date in the document.
Replace the deprecated date by selecting the date drop-down in the XBRL Detail Tagging dialog box and clicking Replace.
Use the XBRL Dates Selector to select an active date.
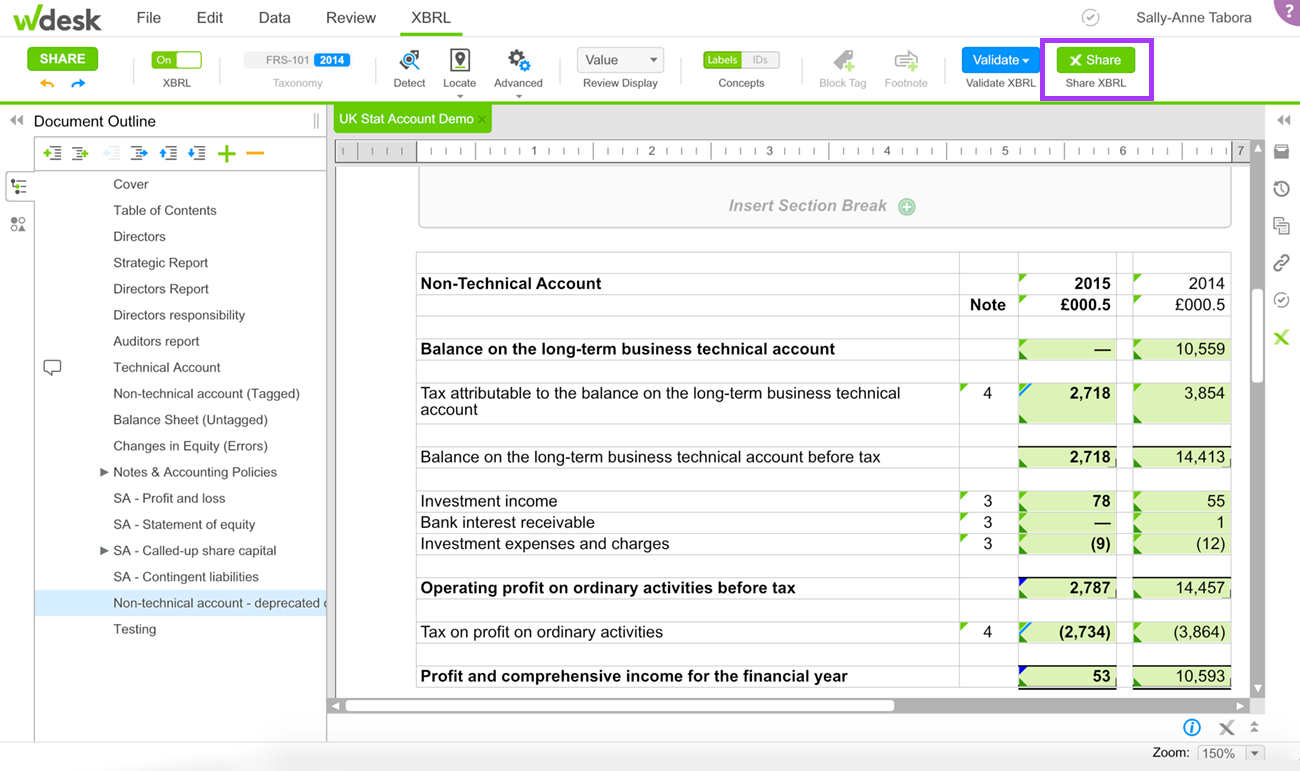
Click Share to share the XBRL date change.